Prerequisites/Before You Start
Before diving in, ensure you have:
- Access to your Gmail account via the web interface, preferably on a desktop.
- Basic familiarity with Gmail’s user interface, including the settings, labels, and filters.
Step-by-Step Instructions
1. Perform an Initial Cleanup
- Use Gmail Search Operators: Type
older_than:1yoris:unreadin the search bar to find and bulk delete or archive irrelevant emails. - Unsubscribe: Use Gmail’s unsubscribe link to stop unwanted newsletters and promotions. If you encounter persistent senders, build a filter to handle them.
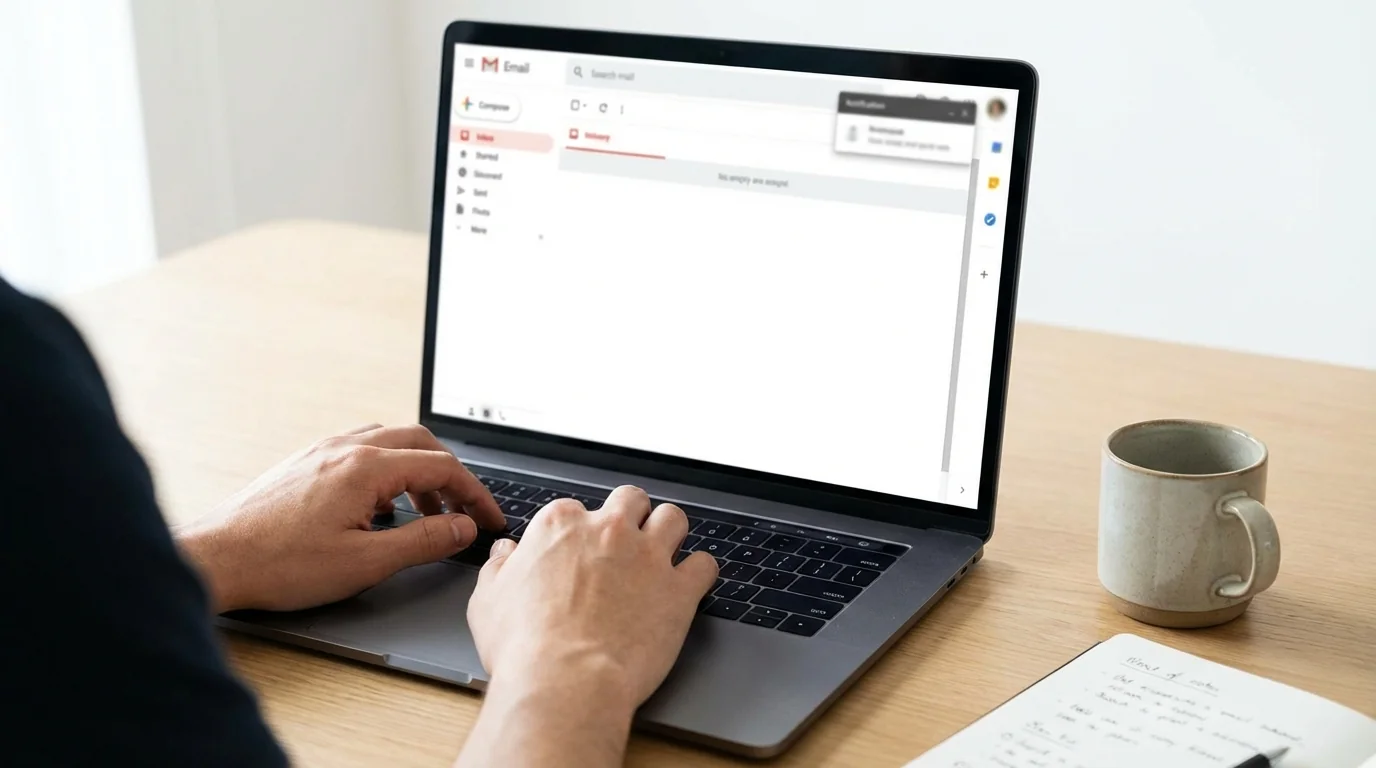
2. Configure Your Inbox Layout
- Go to Settings: Click the gear icon and select the “Inbox” tab.
- Select Layout: Choose “Default” for a simple view or “Multiple Inboxes” to organize categories like starred, unread, or labeled emails separately.
3. Create Labels and Filters
- Set Up Labels: Go to Settings > “Labels” and create labels such as “Action,” “Waiting,” or “Archive.”
- Create Filters: Navigate to Settings > “Filters and Blocked Addresses.” Here, create filters that label and manage emails automatically based on sender or keywords.
4. Process Each Email with the Five-Step Method
For each email, decide to:
- Delete unnecessary items.
- Respond immediately if it takes 2 minutes or less.
- Delegate by forwarding to the right person.
- Defer using snooze or move to a specific label.
- Do tasks requiring your action, followed by archiving processed emails.
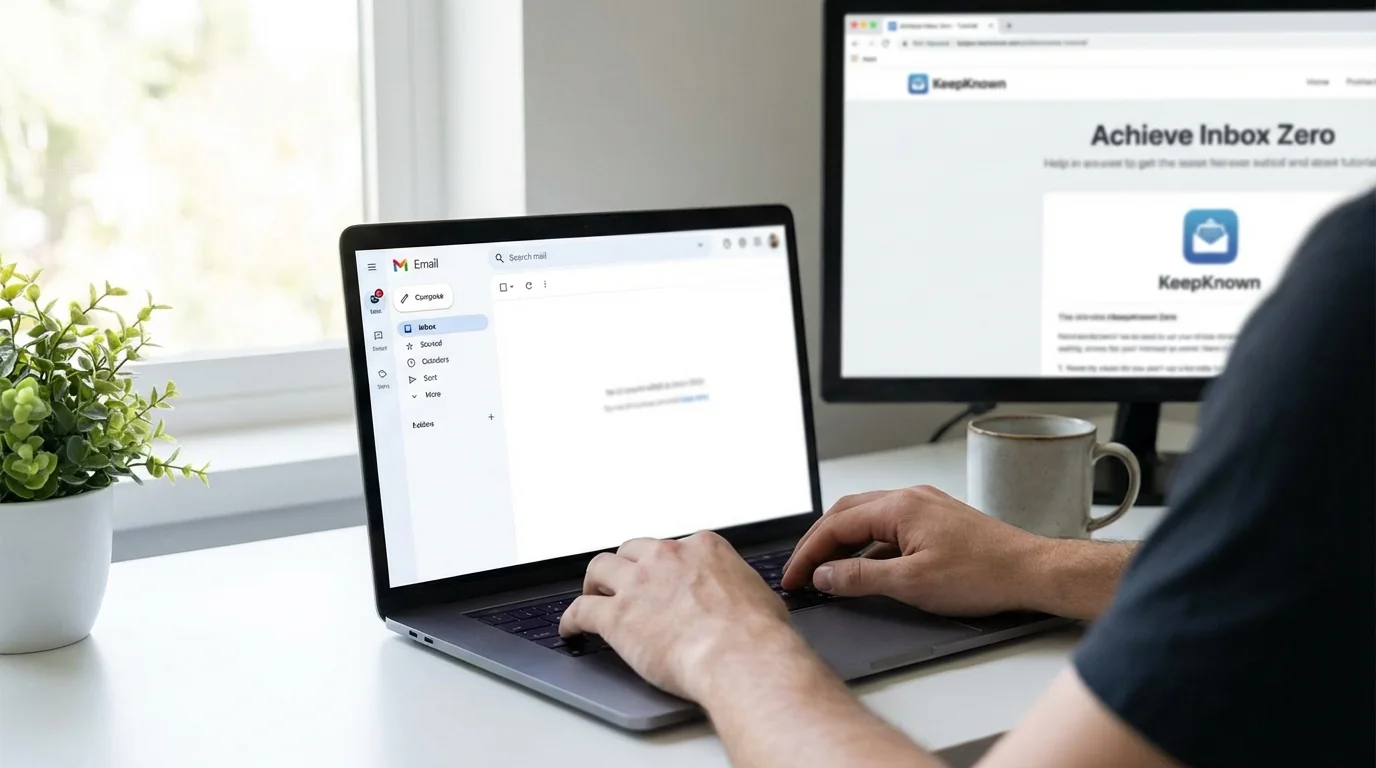
5. Automate with KeepKnown
- Integrate KeepKnown: Automatically filter and label emails from unknown senders, reducing inbox clutter.
- Use KeepKnown’s Features: Enjoy automatic filtering, whitelisting, and easy recovery from the KK:OUTSIDERS label.
6. Build a Routine
- Schedule Checking Times: Designate specific times, like morning and afternoon, to manage your inbox in batches.
- Regularly Update: Adjust filters, labels, and unsubscribed lists as needed to maintain the zero-inbox state.
Troubleshooting
- Emails Misfiltered: Regularly review and adjust your filters in Settings > “Filters and Blocked Addresses” to prevent important emails from being misplaced.
- KeepKnown Over-filtering: Check the KK:OUTSIDERS label to recover any incorrectly filtered emails.
Conclusion
Congratulations! By completing this tutorial, you've established an efficient system to manage your Gmail inbox, keeping it clutter-free and organized. Continue refining and adjusting your setup to best suit your needs. Consider exploring more of our tutorials, like Mastering Domain Setup on Google Workspace to Avoid Spam or How to Filter Emails from Unknown Senders, to further optimize your email management.